4.26.2014

LIfe.s Little Details

What a beautiful day...I got all the housework done first thing and I have been in my art studio ALL DAY...I finished up a project I started a long time ago, then got another one ready to finish for next weekend.

Really wanted/needed to play with my Art Anthology Paints and Everythings so that is exactly what I did...

I am going to use this for an art journal cover...

Life's Little Details....


Here's my process...

I started with a piece of heavy weight cardstock...

Got out my Gelli Arts Gelli plate and reached for my Art Anthology Dimensional Crystals in Fairy, Peony, and Guave. I squeezed them out directly onto my gelli plate then got my brayer and started moving the colors around. I put down some different sized strips of scraps I had to create some white space on the 1st layer. This is the result...


When I pulled the scrap pieces off from the plate, they had absorbed the colors...I decided I must use these as well in my piece...


Next I wanted to add some texture so I grabbed a couple of stencils, and a piece of small holed punchinella and my Liquitex heavy modeling paste and started adding it with my palette knife...Yummy right???!!!


Ok now for some misting...I used Art Anthology Colorations Sprays in Grape Soda, Patience, Gorious, Waimea Bay, and Raider...


and her is the result...


Ok now back to those scraps that I used on the plate for the white space...I sprayed a few sprays of Waimea Bay on them...then I used a punch I have on some of the wider edges...
Then I went over to my sewing machine and it was game on...I love sewing on my art...its just cool...


 So then I got out my Staz On black ink pad and started grabbing some of my favorite foam and rubber stamps...I also sprayed a few areas with the Colorations Spray in Studio Blue for some depth.
I also added some Washi Tape and splattered some white calligraphy ink around as well.

I sprayed a piece of cardstock with the Studio Blue Colorations Spray, then stamped and embossed my favorite butterfly stamp and cut it out and attached it with pop dots...


Once again here is the completed piece...Can't wait to get it placed on a journal and start writing about my Life's Little Details....


Here is a link to retailers both online and brick and mortar where you can purchase these amazing products...Go get ya some and go make something amazing!!!!!
http://artanthologyinc.com/retailers.html

Thanks for stopping by...have an AmAzInG weekend!!!


4.23.2014

The Butterflies Are Coming

So happy Spring is here...that means the butterflies will be here soon, and this makes me very happy.

Quick tag I did before bed last night using texture paste, stencil Art Anthology mists and some Vegas Gold paint, some washi tape and doodling...

Have a beautiful Wednesday and I hope you see Butterflies soon.


Have a FaBuLoUs Day!!!
Monica

4.21.2014

Earth Day Celebration

Hello Everyone,

Well tomorrow is Earth Day, so in celebration, my Art Anthology project this week incorporates recycled elements. Our entire Dream Team has been working on recycled products for this month's posts so be sure to check them all out over on the Art Anthology Blog

I think to make art with recycled elements is so rewarding. I love to incorporate unique items in my art and recycling really provides so many opportunities to do just that. You can also use recycled elements like bubble wrap, paper towel, tissue tubes, etc for some really cool effects on your art.

This week, I have used bottle caps, that I have been saving for quite some time, styrofoam packing, corrugated cardboard, wire, and magazine paper beads.

Here are some pictures of the completed piece...


I started by peeling off the top layer of the cardboard to reveal the awesome corrugation underneath. This can be time consuming, but stick with it, because the outcome is awesome.


Next I wanted to add texture. I used Liquitex heaving modeling paste applied with a pallet knife, and some drywall tape from the hardware store...these elements together make great texture.


While that was drying I started on the heart. I just drew a heart shape with a sharpie pen on the styrofoam then cut it out with a knife. I used a sanding block to round the edges.


I wanted a background for the space between the bottle caps so I mod podged some left over tissue paper I had to the top of the heart then sprayed it with Art Anthology Colorations spray in Hottie.

Now to color up the background.

I started by applying . Art Anthology Velvet Dimensional Paints in Aloha and Fiji.
I then added a deeper layer of color with the Art Anthology Sorbet Dimensional Paint in Veridian

I added highlites of Vegas Gold using the Sorbet Dimensional Paints 

To grunge it up a bit, I sprayed randomly with Art Anthology Colorations Sprays in Silk Tie and Raider then a couple of quick mists of Hottie


Now back to the heart while that dries.
I first had to bend the bottle caps to go around the edge of the heart. I used the edge of my art table to do this...I KNOW, crazy right, but it worked to get the initial bend, then I just squeezed until I got the right angle...I smashed them into the outside edge of the heart. I then placed the other bottle caps on the top of the heart until I got them all arranged, then just pushed them right into the styrofoam.


I got out my awesome Art Anthology Gesso ( best Gesso every!!!!) and covered the entire piece.


Once that dried I started laying down different colors using Art Anthology Sorbet in Red Velvet and Mi Bella, and Velvet Dimentional Paint in Desire. The outside bottle caps were colored with Art Anthology Velvet Dimensional Paint in Fiji.

I did a couple of coats of each color then let it dry. I then sprayed it with the Colorations Sprays in Silk Tie and Raider to grunge it up (see above link).

After all of that dried, I got my sanding block out again and started sanding the edges and high points of the bottle caps and it started to reveal the metal underneath and I loved it...I also used an old black nail file to get into some of the tighter spaces.


Before adhering the heart to the background, I got out some white caligraphy ink and splattered it around randomly.  I adhered the heart with hot glue. Be sure and let the hot glue cool a bit before putting the styrofoam down.

I used my dymo labeler for the quote words and adhered them to my over spray paper from the mist spraying I did through out the project, then glued them down to the background.


I used some left over chicken wire wrap to make a hanger for the piece, and I strung magazine paper beads to it and just ran the wire through the top part of the corrugated cardboard.


I hope this piece inspires you to make some art using recycled elements. I had so much fun with this and it looks great on the wall of my art studio.

Have a FaBuLoUs Day
Monica

4.06.2014

The Crowning of Spring

Hello beautiful people...

I am so excited to share my Art Anthology project with you all this week.

It has started warming up and after a very long winter, I have been ready for spring. I have had this idea in my head for quite awhile and am thrilled to show you that it has all come together...

I made this chicken wire crown in celebration of Spring.


  SIDE VIEW OF CHICKEN WIRE SPRING CROWN


 CLOSE UP OF FRONT OF SPRING CROWN

So first I got some chicken wire from the hardware store...
I measured my head just to get a base...then used wire cutters to cut the length I needed.
I wired it together in the back then started cutting away to form the shape I wanted.

This is the starting piece.


 Then I went outside and gathered up some sticks...I Just started weaving them through the crown until I got them where I wanted them.


 Now comes the really fun part...
I started with all white fabric flowers. Fabric rosettes and this really cool roll of lace flowers I found at Hobby Lobby.


 I measured a length to wrap around the base of the crown...then I got out my Art Anthology Velvet Dimensional Paints


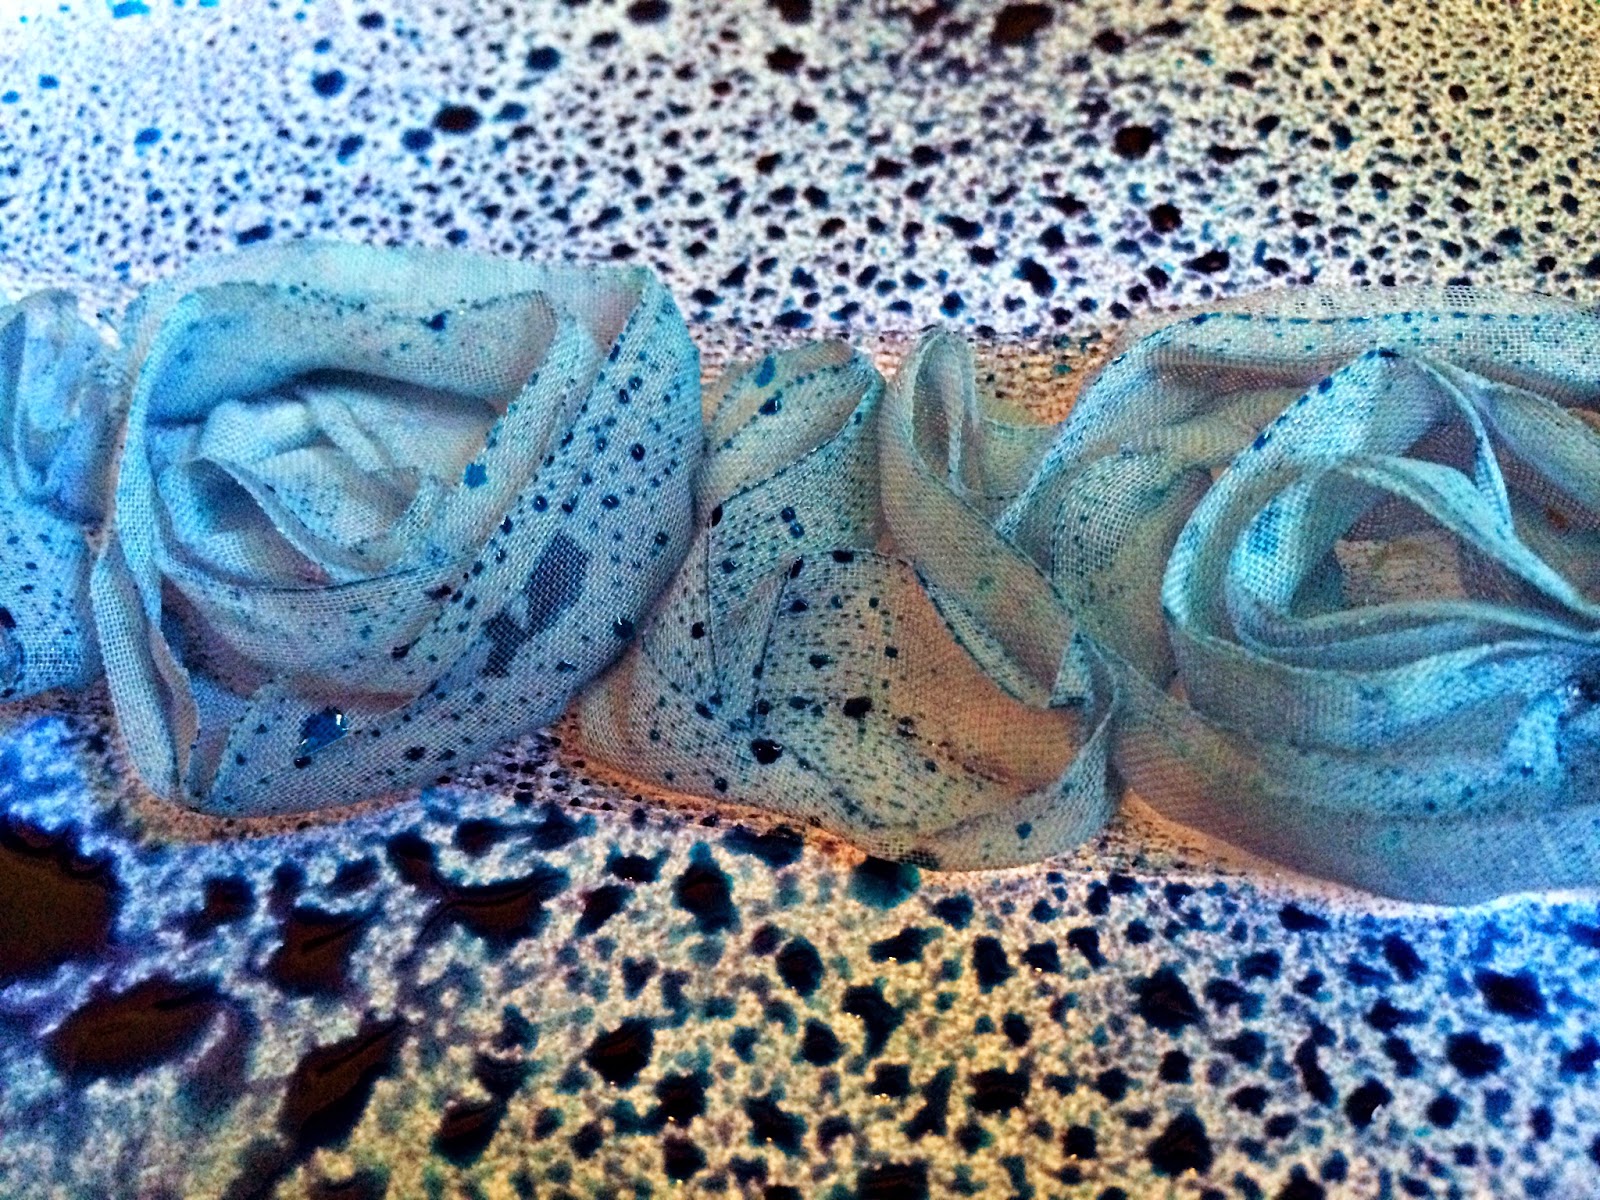
 I then sprayed the ribbon flowers with Art Anthology Colorations Spray Lark, Waimea Bay, and Ink Spot to get the blue color I wanted. I was going for an ombre look.


 This is what they looked like when dry.


 I did the same for the purple flowers using Art Anthology Colorations Sprays in Grape Soda, Silk Tie, and Wild Orchid.  For the purple, and pink flowers I used the lace ribbon flowers.


I used Paprika and Warm in the Colorations Sprays, then I sprayed my craft mat with Hottie and just kind of drug the flowers lightly through the puddle of color on the mat to get some depth.

 For the white flowers, I brushed them with Sorbet Dazzle. Love the antiqued look of them


Here is a shot of all of the flower elements before I started attaching them to the crown, As you can see, with the pink and purple flowers, I cut them apart to get smaller rosette shapes. I also lightly sprayed all of the elements with Colorations Spray in Cinnamon Toast to give them an aged look.


 I had some birds nests that I picked up at Hobby Lobby and I cut one of them in half , and I also had some wood fencing and cut a piece of that. I used the Colorations Spray in Cinnamon Toast to give them a nice rich wood color. The inspire tag I wired on is from Tim Holtz.


I used some burlap scraps sprayed with Cinnamon Toast to fill the nest a bit for the little eggs.

The bird in the nest is actually from a sticker tag that I had. I stuck the tag to cardstock then cut the bird out.

The small yellow flowers you see in the mix of flowers are paper rose buds from The Paper Studio and they are colored with Colorations Spray in timeless...I did this by spraying it onto my craft mat and absorbing the color into my brush and painting these flowers. They are paper and just absorbed the color...so yummy.

After I got everything attached, I decided to add some butterflies.


I used a printout then sprayed over the printed butterflies with Waimea Bay for the blue, Patience for the pink, and Guacamole for the green. I love how the colors are so rich, yet transparent enough to see the lines of the butterflies from the original print out. I then inked the edges of them with some Tim Holtz Rusty Hinge.


I attached all of the elements with my hot glue gun as I really wanted them to stay in place, plus I am not patient enough to wait for regular glue to dry lol. I hope this project has inspired you and gotten you excited about Spring. I will be displaying this Spring Crown on my vintage sewing machine table in my entry way. But for now my head will have to do hehe.


Thanks so much for stopping by the blog today to check out my project. Please come back and show us what you create to welcome spring into your world.
x0x0x
Monica